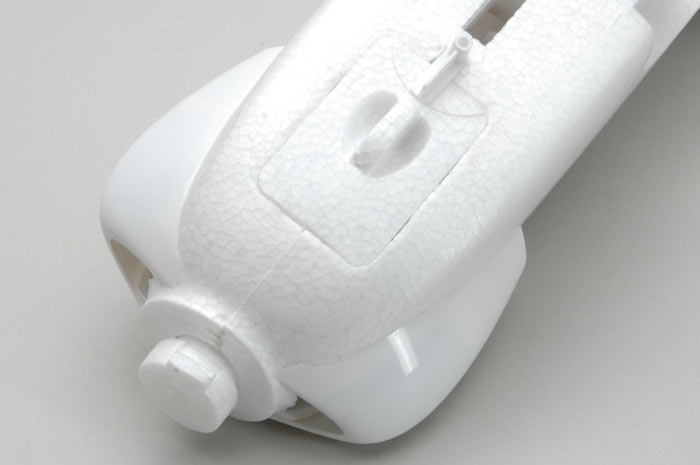
A few customers have reported have dificulty installing batteries in the AcroWot Foam-E so we have devised a quick solution to help these modellers. You will need 2 small needle nose pliers and a scalpel to complete this modification
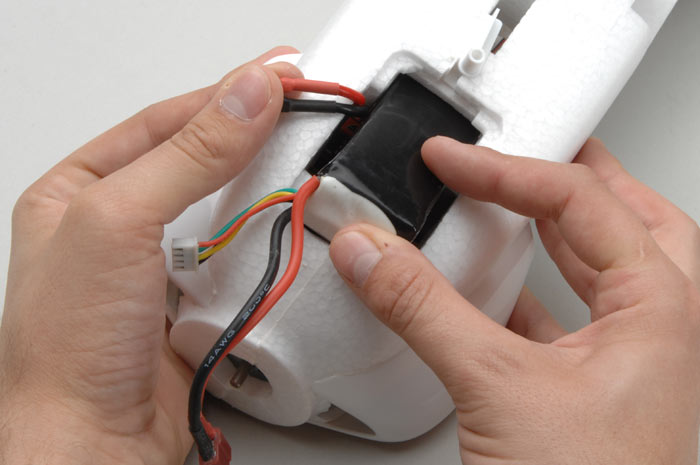
1. Remove hatch to reveal ESC.
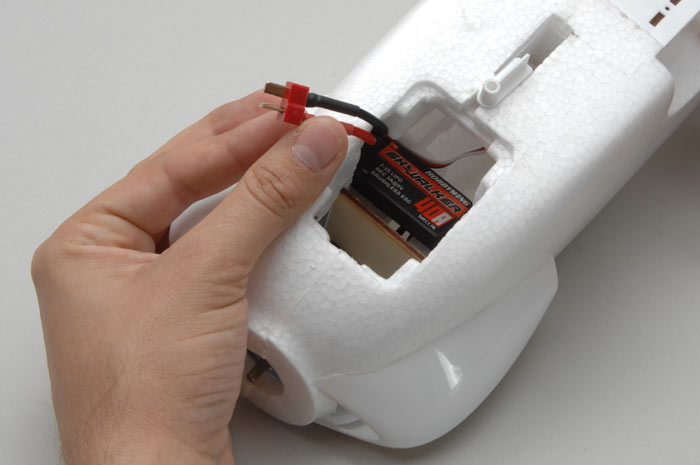
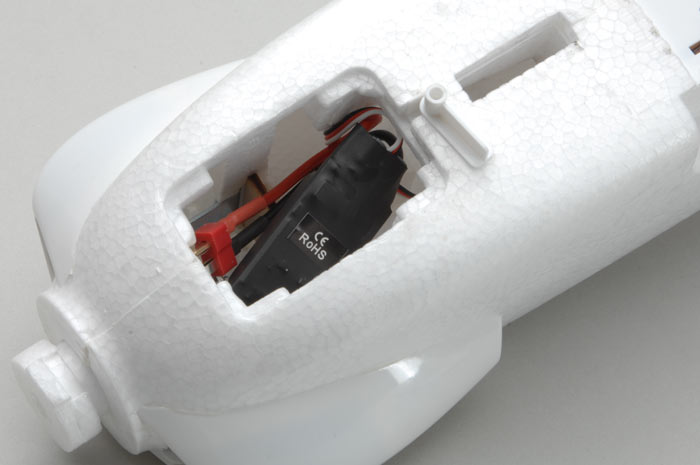 2.
2. Pull the battery wire out of the compartment.
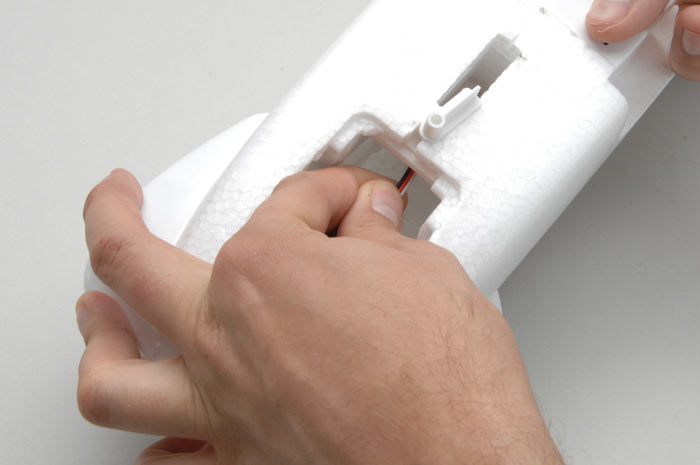
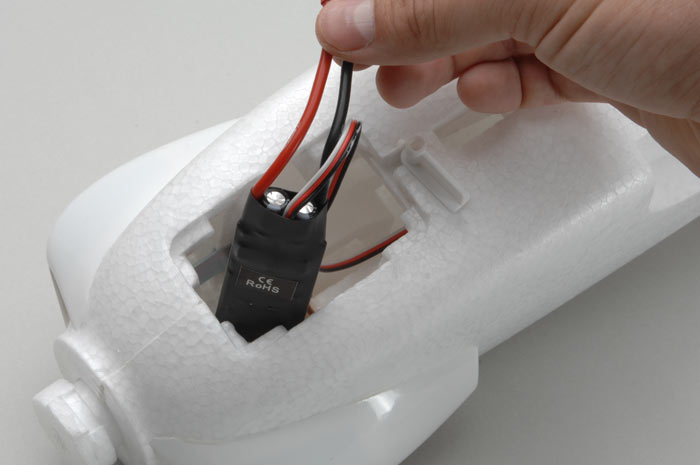 3.
3. Pull out the signal lead.
 4.
4. Carefully cut the cable tie holding the motor wires on the side shown.
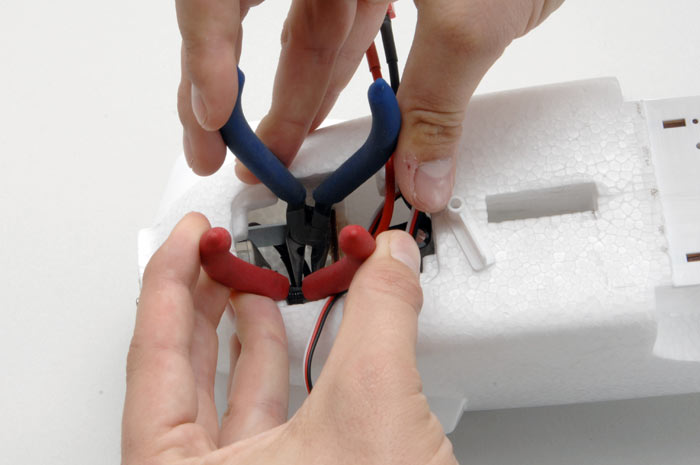
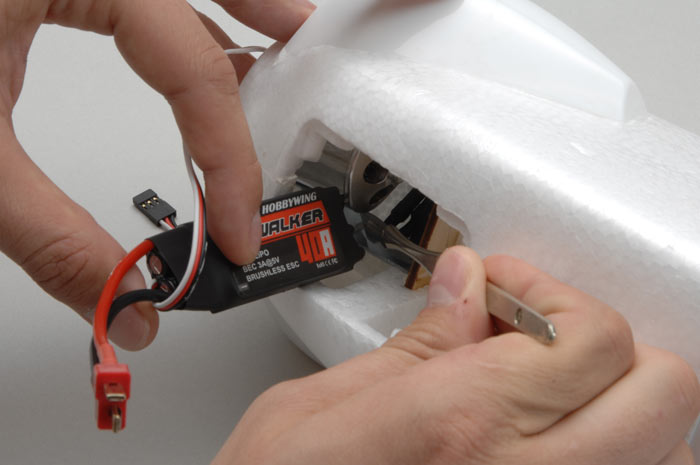 5.
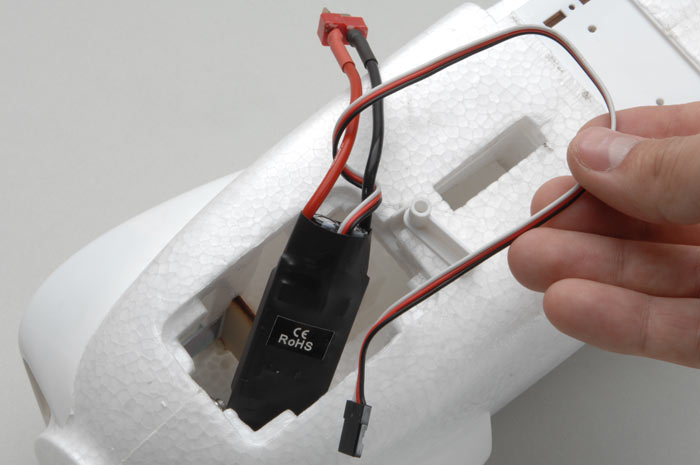
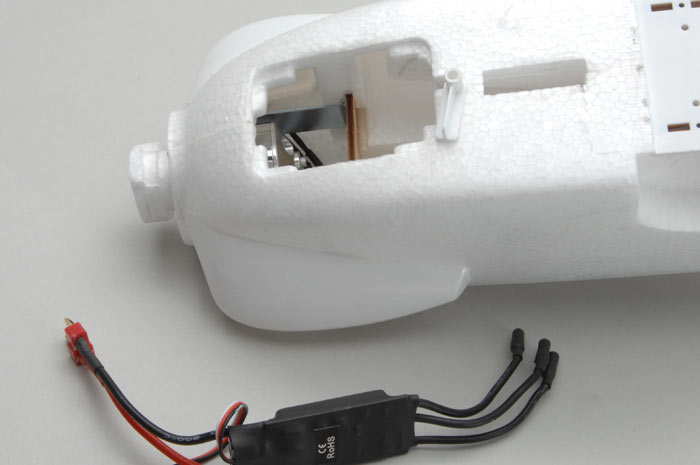
5. Un-plug and remove the ESC.
 6.
6. Put a bend in the esc motor wires to aid fitment.
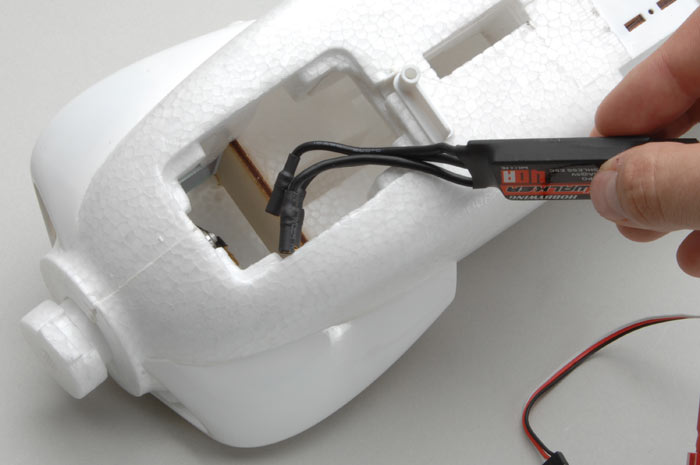 7.
7. Place the speed controller in the slot in the foam behind the firewall. Use the bent ESC wires to help you slot the connectors under the ply firewall.
 8.
8. Using a pair of needle nose pliers re-connect the connectors on the motor to the ESC. This may be tricky to do so take your time. At this point temporally connect the ESC to your RX and a flight battery to check motor direction before preceding. TIP: If you push the wires against the foam floor they are easier to connect.
 9.
9. Feed the signal wire back down the fuselage to the RX compartment. TIP: If you hold the fuselage vertically with the motor pointing towards the sky this will be easier to do.
 10.
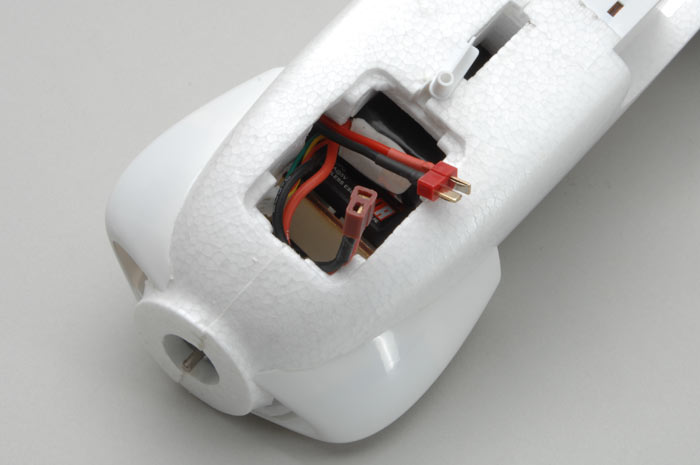
10. Re-position the speed controller horizontally behind the firewall and ensure the signal wire is tucked out of the way.
 11.
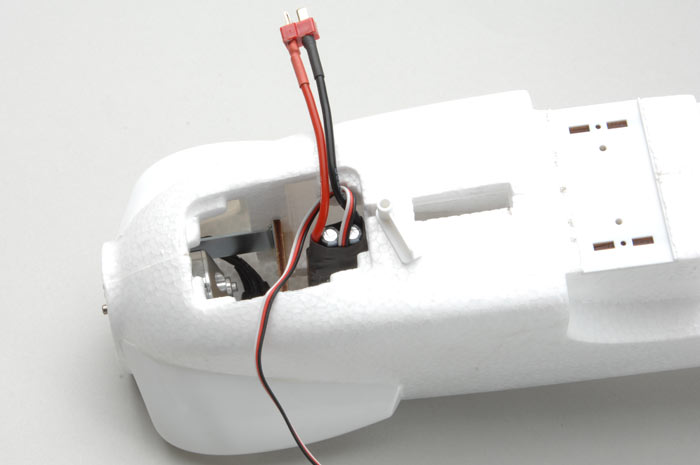
11. A clearer view of the new ESC position. This gives you easy access to the battery wires and a clearer path for the battery.
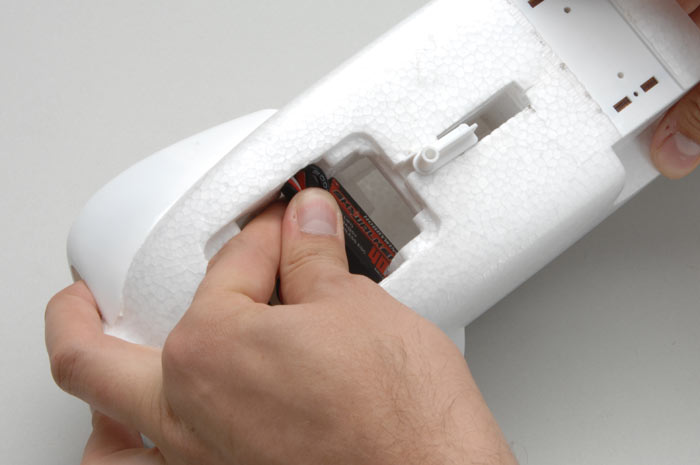
 12.
12. Test position the battery in place.
 13.
13. Push the battery in until it is in the correct position shown here.
 14.
14. Replace and close the hatch to secure the battery.